Member Experience Direct Deposit Guide
Skip to main content
Looking to open a checking account at InTouch Credit Union? Follow the steps below to get started!

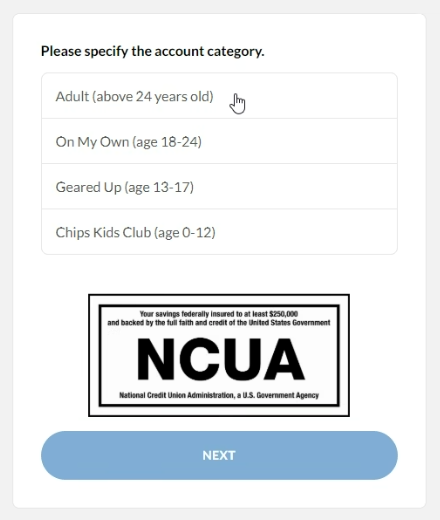
Step 1: Choose the Account Category

Begin the account opening process by selecting an account category. InTouch Credit Union offers a variety of checking accounts for differing needs. Click below to learn more about each category.

Want to speak with a representative or have questions? Contact us!
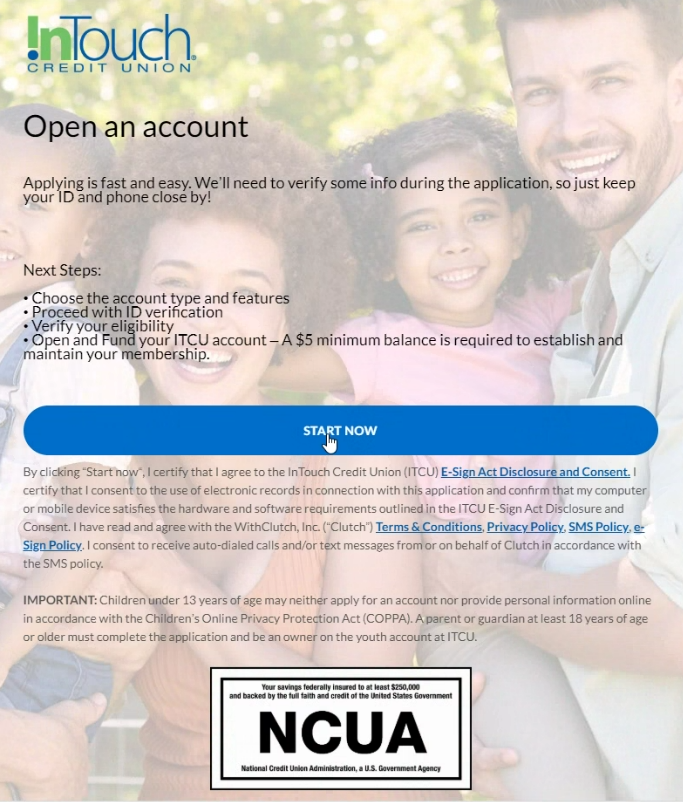
Begin opening a checking account.
Select an account category.

Step 2: Pick Your Checking Account

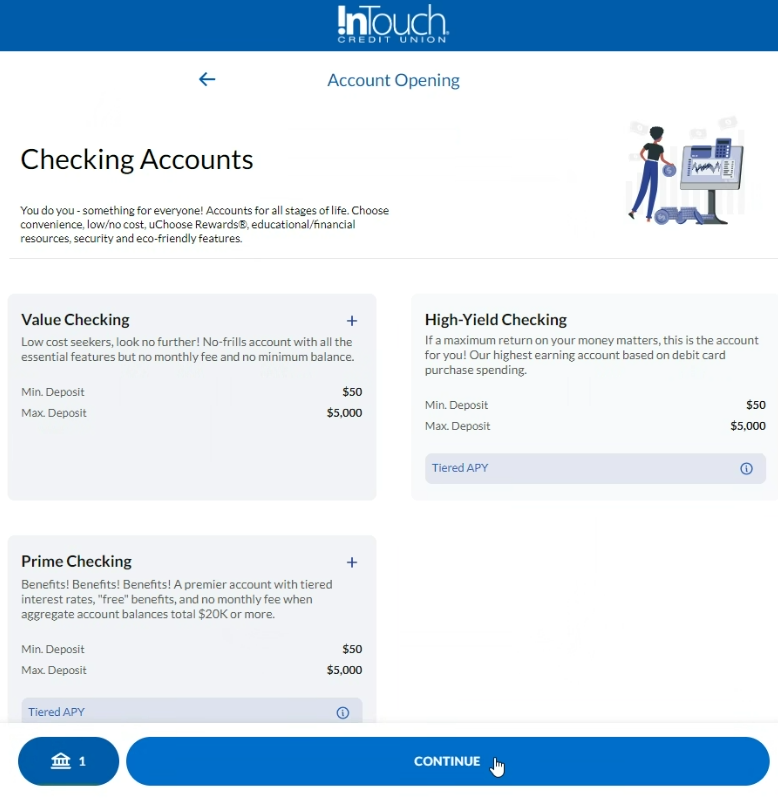
Click "Checking Account" then select the account type you want to open by clicking the + icon at the account card's top right corner. For assistance comparing ITCU's checking accounts, click here.

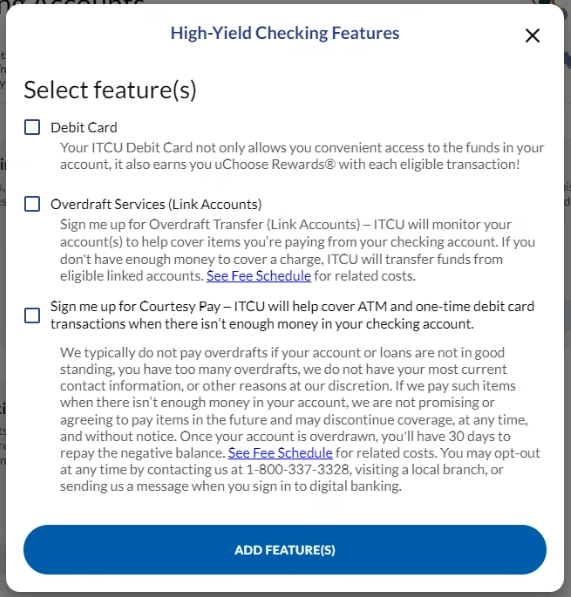
Once added, a window will appear, and you will be prompted to select what additional account features you want.
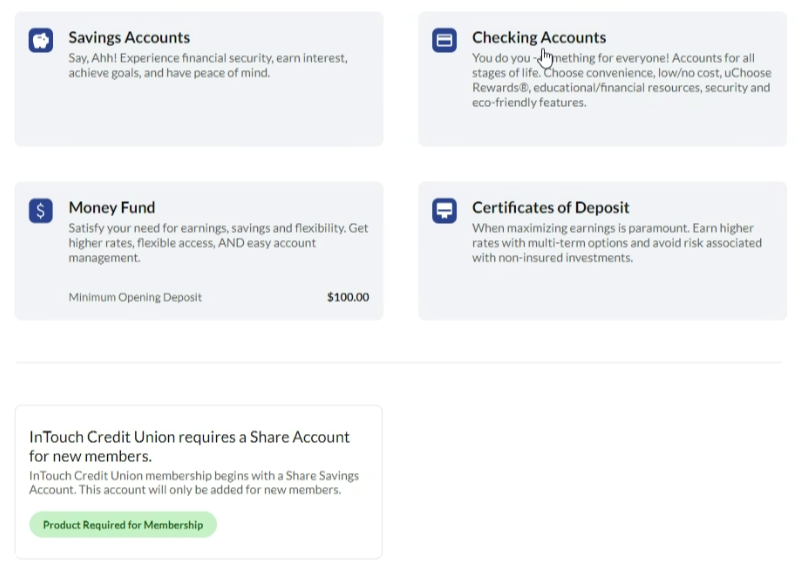
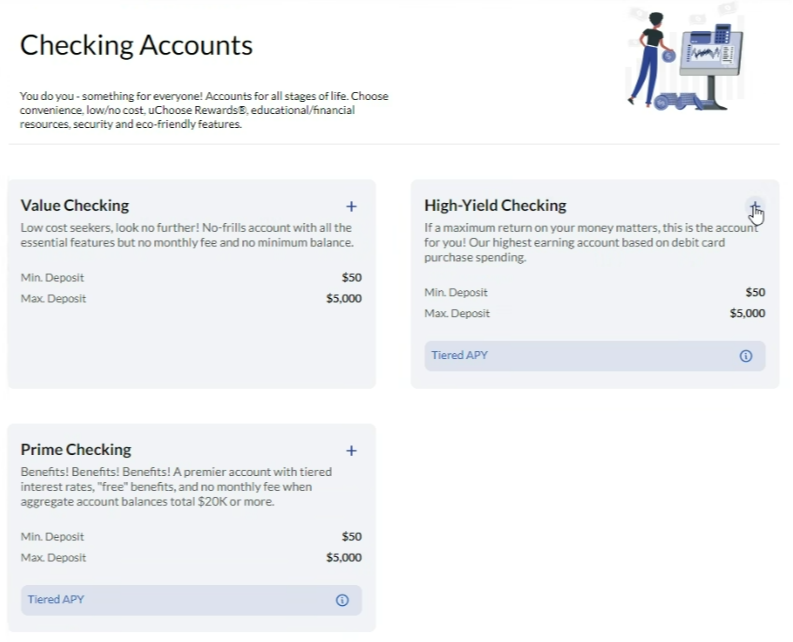
Choose "Checking Account."
Select what checking account you want to open.

Step 3: Select Checking Account Features

Select the features you want and click "Continue." The features window will close, and, in the bottom left corner, you should see a bank icon with a number appear. Clicking on this icon will allow you to check accounts what you've selected. After verifying your selection, click "Continue."
Select what account features you want to add and click "Continue."
You will know you successfully selected an account if a bank symbol with a number appears in the bottom left corner of your screen. After, click "Continue."

Step 4: Begin ID Verification

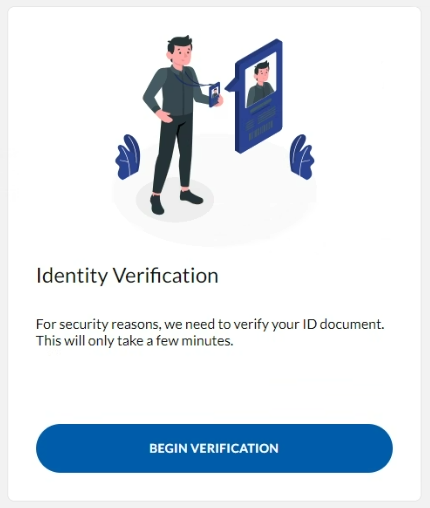
Begin the ID verification process. Fill out the required information.

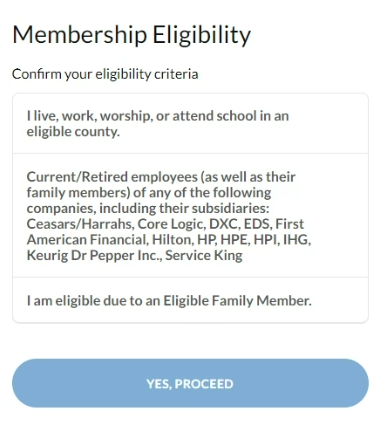
Eventually, you will be requested to select the membership eligibility criteria that you meet. Refer to our Membership Eligibility page or contact us if you have any questions.

Verify your information.
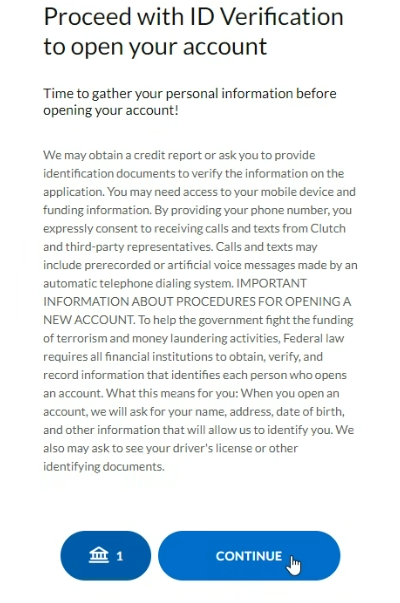
Begin ID verification.
Select the membership eligibility criteria that you meet.

Step 5: Fund Your Account

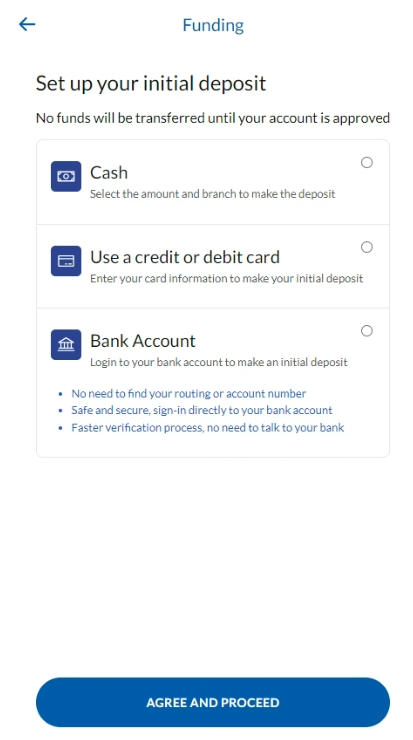
Fund the account or accounts you selected. Add joint applicants or beneficiaries. If you are not a member, a par-share savings account will also be opened as it is necessary for becoming a member.

Please review the terms and conditions.

Select your funding method.
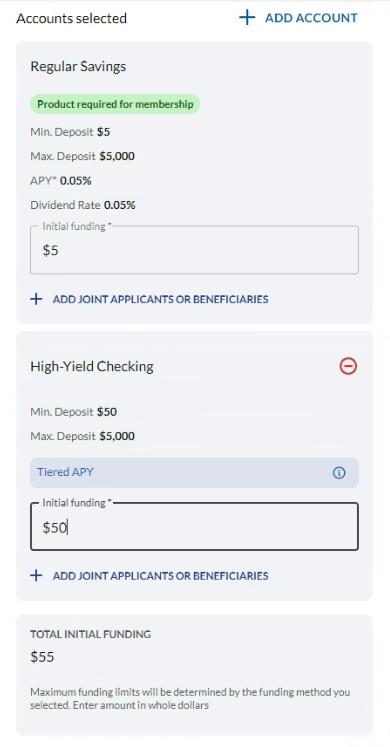
Type in your initial funding amount for the accounts selected.
Select your funding source.

Step 6: Upload Documents

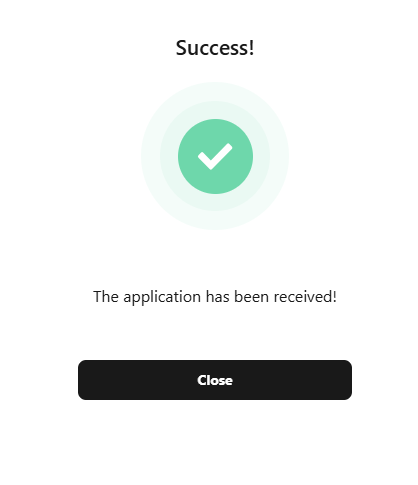
Begin the upload process for ID documents necessary for opening your account. The device you use for this process needs to have a camera. After submitting, you will see confirmation that your application has been received.
Begin uploading ID documentation for opening an account.
Open Checking 20: Complete Verification Updated

Step 7: Application Complete

Congratulations on submitting your application. You should receive an email notification shortly.
After submitting your application, you will receive an email notification.

Step 8: Setting Up Digital Banking

In your email notification, click "Account Details" to see your account details, including account numbers and membership number. Save this information securely because you will lose access to it 7 days after creating your account. If you need to access this information after expiration, please contact us via phone.

Return to the email and scroll down. Click "get enrolled" under "Initial Setup." Be prepared to input your membership number to finish setting up Digital Banking.
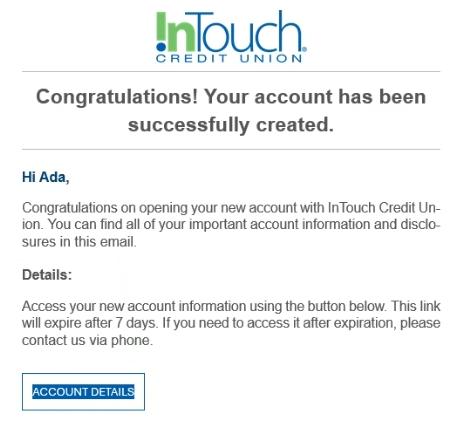
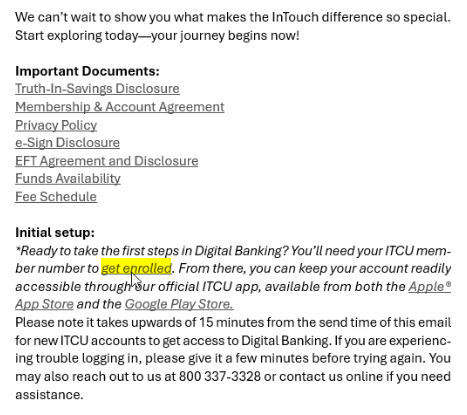
In the email, click "Account Details" and save this information securely.
Through the email, follow instructions to setup digital banking.

Other Member Experience Guides

How to Setup Direct Deposit